Grunge it up card

Click on the image and see how this was made. There is a video tutorial of the process.

In My Garden card

Click on the image and see how this was made. There is a video tutorial of the process.

Timeless Treasure art journal spread

Click on the image and see how this was made. There is a video tutorial of the process.

Father's day card

Click on the image and see how this was made. There is a video tutorial of the process.

Distress it card

Click on the image and see how this was made. There is a video tutorial of the process.

Thursday, August 28, 2014

CC3C #9

Hi everyone,

I don't know why, but I'm so very busy lately. Fortunately, I could make time to join in with CC3C at the last moment. We are already at #9, and we may play with framelits with matching stamps this time, according to page 63. This challenge is sponsored by Inspiration Emporium.

 
Unfortunately I don't have any Tim Holtz framelits but I do have a set from Simon Says Stamp with matching stamps. Those are very nice too and work the same. Although Tim's framelits have different parts of the stamp so you can make layers. Those of Simon Says Stamp doesn't have that, only the outline. Who knows, maybe in the future.


I used vellum for the die cuts because it gives a nice semi-transparent effect and you can see it the stamp underneath. I colored the vellum with some Distress Markers.


Thank you for stopping by! Love to see you next time!

Hugs,
Sandra

Wednesday, August 27, 2014

Witch-Kraft invitation tutorial

Hi everyone,


I'm so excited about this weeks challenge over at Simon Says Stamp Monday Challenge! I dreamed this one up. I know it's early to think about Halloween, but it will be here sooner than you think. I like to share a tutorial about the witch-kraft invitation I made. Here's a little sneakpeek.


Click here to see it over on the Simon Says Stamp Monday Challenge blog.
50dollar_voucher_600px
To join in all you need to do is make a project that fits this weeks challenge and you can be the winner of the $50 gift voucher that our amazing sponsor Simon Says Stamp offers. This prize will go to a random entry. So go over to the Stamp and Show Monday Challenge blog, let the DT members inspire you and join in the fun!

Thank you for stopping by! Love to see you next time!

Hugs,
Sandra

Sunday, August 24, 2014

12 tags of 2014 - August

Hi everyone,

It's Tim-Time! What a gorgeous tag our Tim made this month. I know, I say this every time, but it's true! I like the busy messy design. But personally I don't do that as much, so when we are challenged to make it very busy and messy, I'm going for it.


It's so much fun to create it with different supplies, to make it your own. That's why the 12 tags is one of my favorite challenges. You learn new techniques and you can follow the instructions as you like. Love that! Here are a few more pictures.


Thank you for stopping by! Love to see you next time!

Hugs,
Sandra

Monday, August 18, 2014

The Barcelona Album

Hi everyone,

This week it's NO RULES at Simon Says Stamp Monday Challenge, it's Anything Goes! So please join us!


For every trip I make, I like to make an album with all the photos I took during that adventure. It's always a lot of work to make an album, but this time it took almost my whole summer break! Not that I mind it, it was just a big project. I'm a person who likes to process a lot of photos in the album and that's always a challenge. This time I put about 200 pictures in it! If a picture says more then a thousand words, this album sure has lots to say!


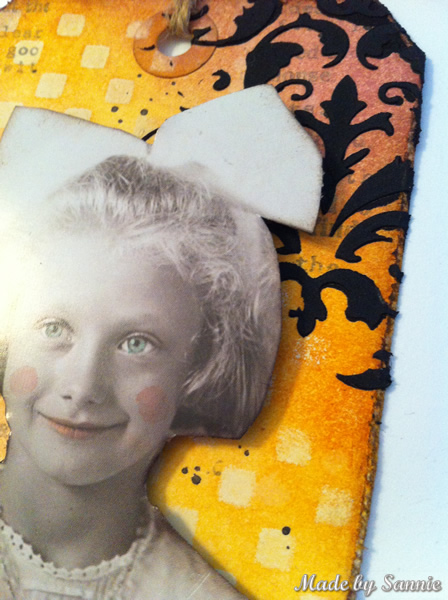
I wrote a lot more about the things that happend and that I've seen, then in other albums. The small notepad I made a while back has really helped me so I could take notes and write the whole story later. I first covered the canvas board with design paper from Authentique, the Accomplished collection and made an album of it. 


The theme of Accomplished actually is graduation, but I find Kraft with black and white a very nice combination and I didn't mind that it wasn't a traveling theme. Because I knew I probably wouldn't have enough sheets, I also used Black and 
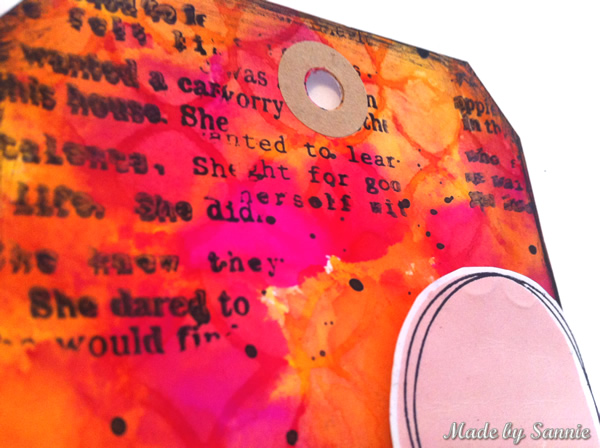
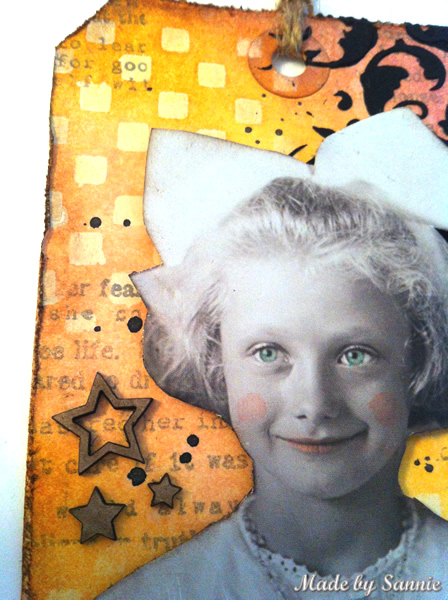
Kraft Bazzil Cardstock. How could I print on a black surface and see the text? I actually had only one answer and that was Perfect Pearls. I've got an inkjet printer and ink is wet, so why not print with the best quality setting and cover it with Perfect Pearls Heirloom Gold? The first attempt failed because I had printed on the textured side and that made the text difficult to read. The second attempt was successful, perfectly readable. But it needed to set. Unfortunately it didn't work to spray it with a Mister, because if the drops were too big, the text became unreadable. Hmmm, what will work and not bleed? Why not give hairspray a try? And yes, that was the answer!


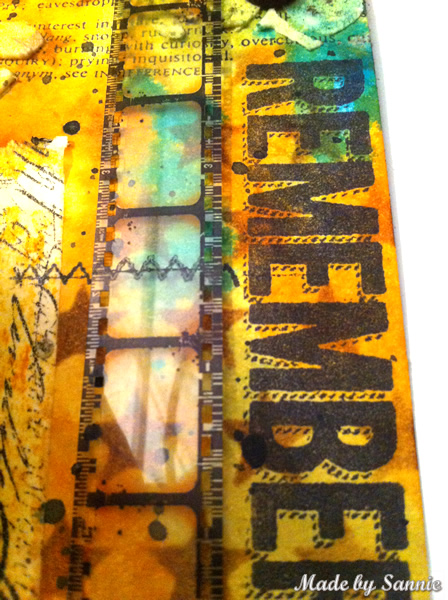
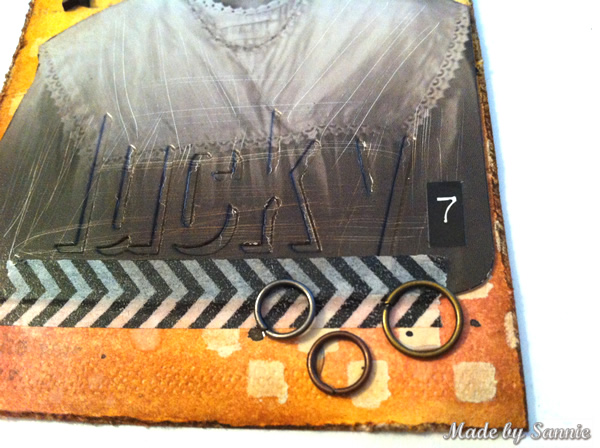
To mix up a bit, I also used a transparency sheet, and stamped with 
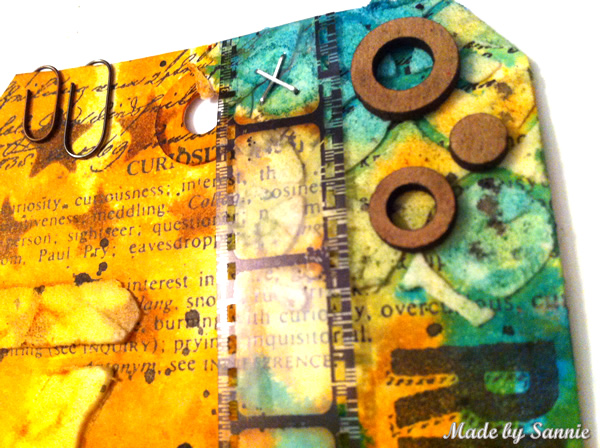
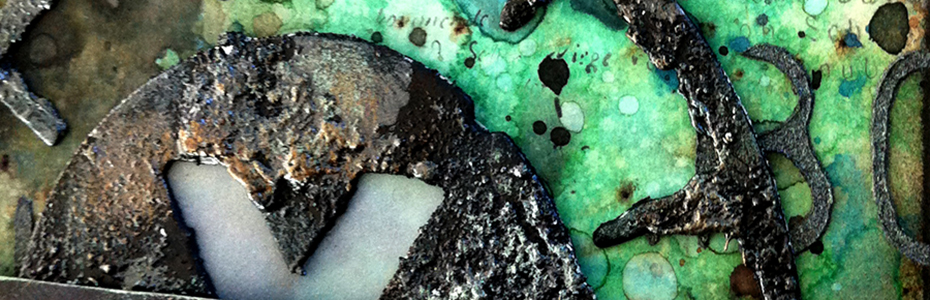
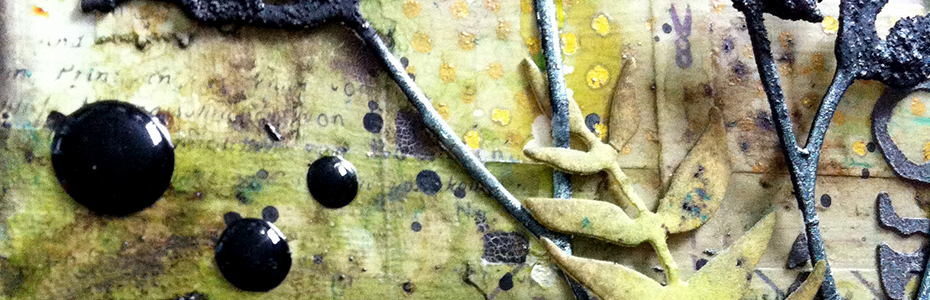
StazOn on it. This ink works best on a plastic surface. And adhered on both sides photos. The letters I die cut from the Lower Alphabet Dies set with Cork Sheets. The three dots under the text are the insides from the letters. Why not use them as embellishments?


As for the text, I wrote this in Adobe Illustrator. I first decided how big I wanted the piece of cardstock I was going to print on and where the text would come. Once that was set I started typing, and wrote as many as could fit in the textarea. I then printed it out on regular printing paper with a border the size of the piece of cardstock, and I cut that piece out. I adhered it in place where the border was, put it back into the printer and deleted in Illustrator the border. And printed it again. No paper is wasted in this way. This method only works with an inkjet printer and one that has a tray at back of it so the paper remains almost straight when the printer pulls the paper through.


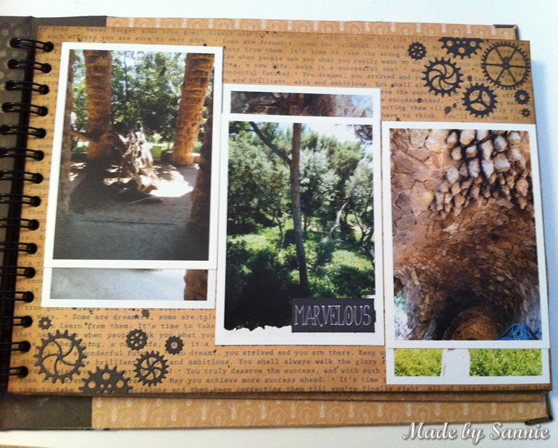
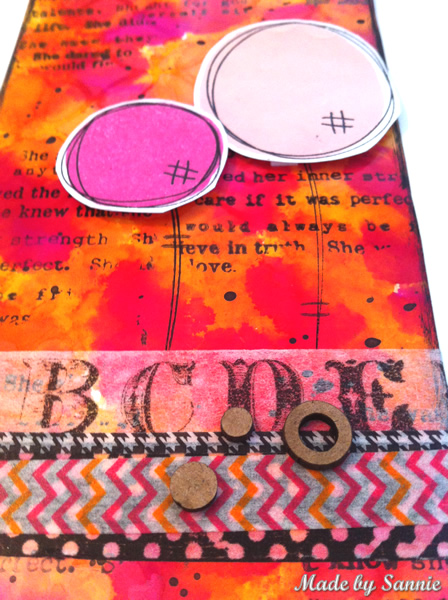
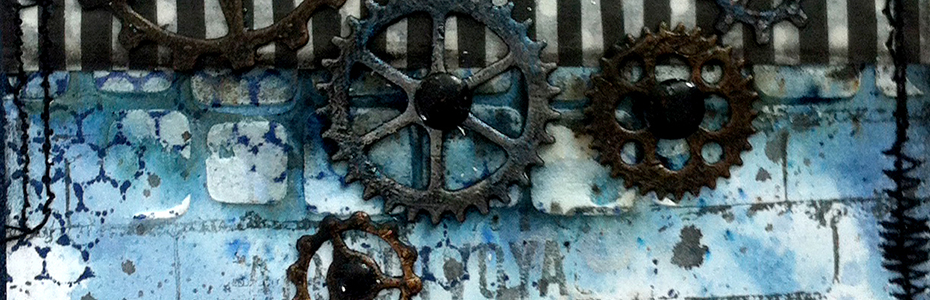
I have lots of photos with the backs glued together and I made them ​​interactive. Each page has a different layout and amount of picture. Quite difficult to make each page different, but again it makes it more interesting for when you browse through the album. The
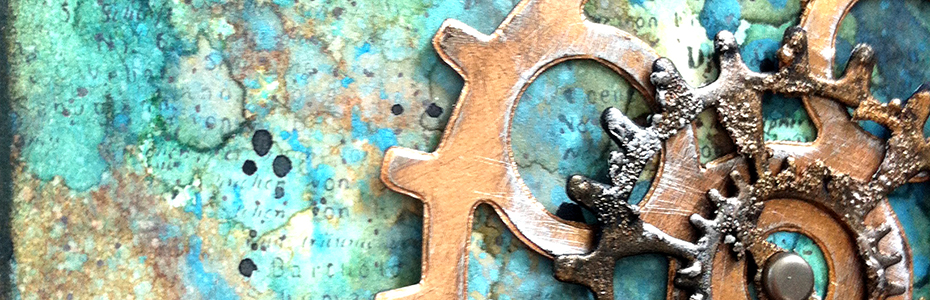
 Gears and Mini Gears are from Memory Box. Absolutely love them!


I almost forgot that I had those Shadow Presses. It gives such a cool effect to a photo. I've learned that they best work on a background if it has a solid color. If you look carefully you can see this page exist out of two different design papers.  I've adhered the two remaining strips of design paper together with washi tape and so created a whole page. Really convenient and also very pretty! Maybe next time I make all the pages that way.


The cover I decorated last, it was already covered with design paper. But I mean the decoration of the cover, because I wanted it to with the style of the content of the album. I kept it pretty simple, because I have done taht with the inside too.


50dollar_voucher_600px
To join in all you need to do is make a project that fits this weeks challenge and you can be the winner of the $50 gift voucher that our amazing sponsor Simon Says Stamp offers. This prize will go to a random entry. So go over to the Stamp and Show Monday Challenge blog, let the DT members inspire you and join in the fun!

Thank you for stopping by! Love to see you next time!

Hugs,
Sandra

Wednesday, August 13, 2014

CC3C #8 Faded Layers

Hi everyone,

Today I find the time to make CC3C numero 8! And this week we were asked to do the technique on page 58, Faded Layers.
This challenge is sponsored by The Funkie Junkie Boutique!
I was in the mood to use some bright colors to do this technique. But apparently a bit too bright, because I didn't get the Faded the Layers as well as I would have liked. Not sure why. If you look closely you can see 'em. I tell myself that this very subtle effect is great too... 


The Scribble Flowers and pink ink which I stamped them with are from Simon Says Stamp. Doll Pink and Cotton Candy, love those sweet colors.


Thank you for stopping by! Love to see you next time!

Hugs,
Sandra

Monday, August 11, 2014

Sweet found relative girl tag

Hi everyone,

This week it's "all scratched up" at Simon Says Stamp Monday Challenge.
From rubbing with steel wool to sandpaper, giving an aged look with a brown ink pad to crumpling and then flattening back out some paper, or even using a scratched up looking stamp – this week we challenge you to embrace imperfection and get grungy.


Last week I had so much fun using the Found Relatives, so I wanted to make a tag with it this week. The girl is so cute and I've named her Lucky. I've no idea how old the girl was when this picture was taken, but who knows, maybe she was 7...


I wanted to use colors that complement her, but wanted to use other colors than that I normally use. But first I did the paint resist technique on a plain tag with the Sunset Sunrise stencil. Since I used a Manilla tag, I picked Antique Linen Distress Paint. This color is most similar to the original tag color. With Victorian Velvet, Wild Honey and Tattered Rose Distress Ink I made ​​a colorful background. I find it so cool how the paint resists the ink. I almost never use the Paper Distresser, but I should do more often, because it gives such a cool and distressed effect!


After I had fussy cut Lucky, I colored the edges with Walnut Stain so that they did not seem so cut and gave Lucky some more definition and aged look. I love the Shadow Press Debossers. And why not deboss her name on the photo? It's not as visible as I would have liked. The surface must be more solid of color, then it will show more.


With Black Embossing Paste I made some details with the Flourish stencil. And I attached Lucky with some Pebbles Washi Tape. My new found embellishments the Jump Rings are glued down with some Tacky Glue. With a Craft Nib I gave some color to her face. Her eyes with Broken China (there was still some yellow on the nib and gave her eyes a beautiful green color), her cheeks with Spun Sugar and her lips with Worn Lipstick.

50dollar_voucher_600px
To join in all you need to do is make a project that fits this weeks challenge and you can be the winner of the $50 gift voucher that our amazing sponsor Simon Says Stamp offers. This prize will go to a random entry. So go over to the Stamp and Show Monday Challenge blog, let the DT members inspire you and join in the fun!

Thank you for stopping by! Love to see you next time!

Hugs,
Sandra

Monday, August 4, 2014

Familiy Chronicles

Hi everyone,

This week is "it's in the family" over at Simon Says Stamp Monday Challenge. Maybe you'll make a project for your family, you're trying to make a family tree or use a family of colors. Whatever you come up with, we'd like to see!


In my art journal I wanted to use the Found Relatives, unfortunately I don't have any pictures of my ancestors and used these replacements instead. I love Finnabair's art journaling style, really pretty, and I'm very inspired by it. Love to play with and give it my own spin.


First I distressed the background, especially the edges, with Spiced Marmalade, Barn Door, and a bit of Walnut Stain Distress Ink. These colors in combination with lots of white are stunning.


Then I decided which Found Relatives I wanted to use and which were the easiest to cut out. With the strips of paper and washi tapes I made a simple composition. Above of the strips I stamped with Versamark the Doily and covered it Heirloom Gold Perfect Pearls. 


With a variety of stamps I built up the background. I sprayed with Lindsy's Stamp Gang and a homemade spray of Barn Door, Spiced Marmalade Rein Cherry and Heirloom Gold Perfect Pearls,  a little  bit to make it all the same color and to make it more a whole.


50dollar_voucher_600px
To join in all you need to do is make a project that fits this weeks challenge and you can be the winner of the $50 gift voucher that our amazing sponsor Simon Says Stamp offers. This prize will go to a random entry. So go over to the Stamp and Show Monday Challenge blog, let the DT members inspire you and join in the fun!

Thank you for stopping by! Love to see you next time!

Hugs,
Sandra