Grunge it up card

Click on the image and see how this was made. There is a video tutorial of the process.

In My Garden card

Click on the image and see how this was made. There is a video tutorial of the process.

Timeless Treasure art journal spread

Click on the image and see how this was made. There is a video tutorial of the process.

Father's day card

Click on the image and see how this was made. There is a video tutorial of the process.

Distress it card

Click on the image and see how this was made. There is a video tutorial of the process.

Monday, April 29, 2013

Pretty Paris

Hi everyone,

Ohh I just can't wait for next week! Because then I'm going to Paris! Again, yippee! I'm so looking forward to it. I'm going with 3 friends and it will be great fun, I'm sure of it! I'm finally gonna climb the Eiffel Tower! It is already reserved, so it's really happening! This week Simon Says Stamp and Show has a very appropriate challenge that fits my upcoming trip: Passport to Fun! So collect your travel stamps and get inky!


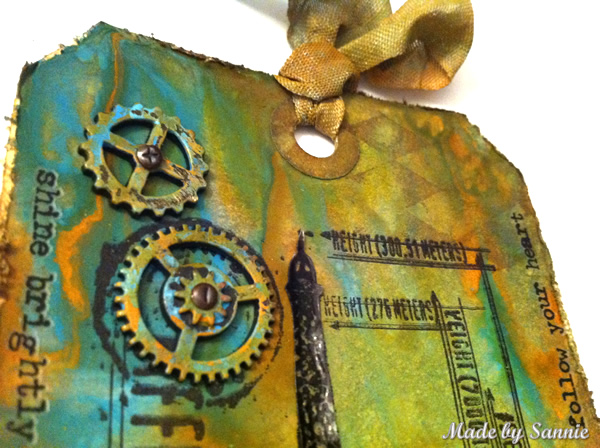
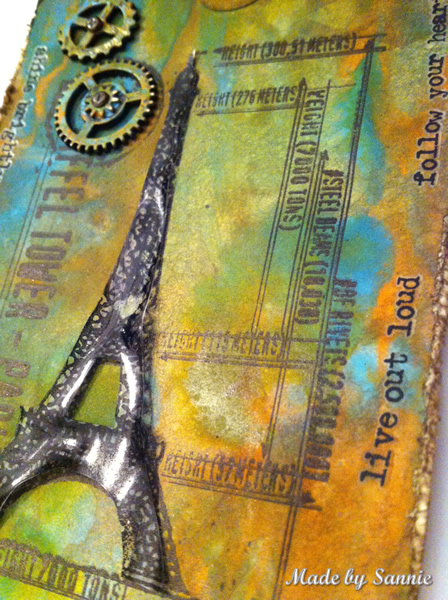
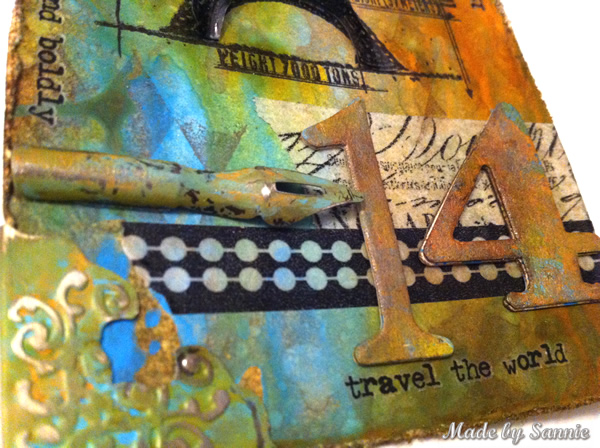
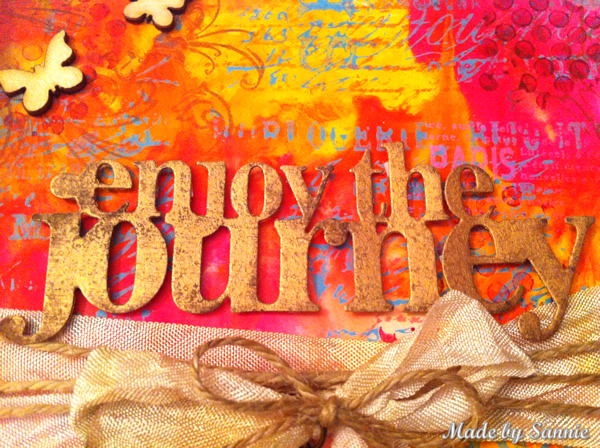
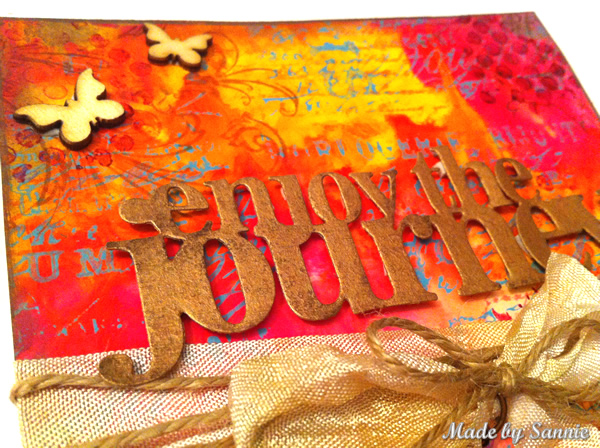
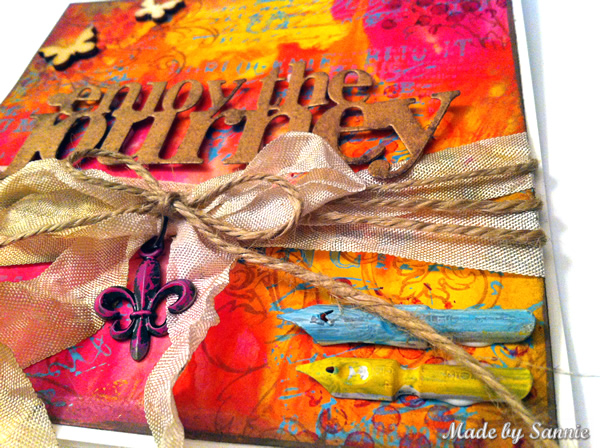
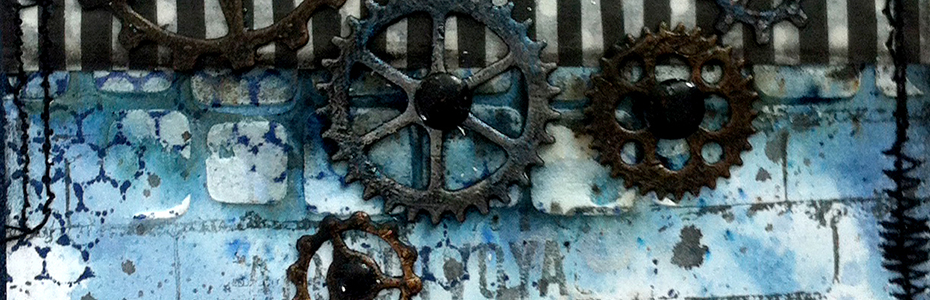
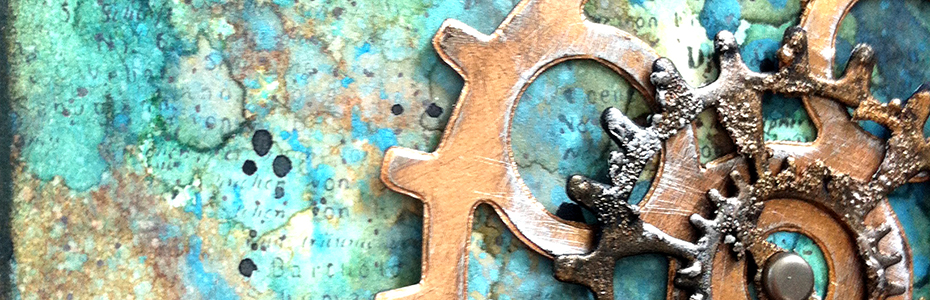
I had some old pictures from a previous trip to Paris. I think it's from about 5 years ago. I was with my BFF Lein. This mini Maya Road canvas album is perfect for this project. First I applied the camera stencil with modeling paste. After that was dry I colored the canvas cover of the album and the canvas envelopes with Color Shine and Color Wash Spray. I needs to be really dry before I could continue. It takes a while for fabric to dry. I can take so long before I decide where everything goes, so this cover took a while, as did all the pages!


The pages I covered with the 75 cents paper collection of Kaiser Craft. I love that beautiful paper line! So pretty! The pictures are a bit to big for the pages, but I don't mind. I used a lot of modeling paste with stencils, and the most text is done with the Label Letters from Tim Holtz. The best letter stickers! Only there are not enough 'U's on one sheet!


To join in all you need to do is make a project that fits this weeks challenge and you can be the winner of the $50 gift voucher that our amazing sponsor Simon Says Stamp offers. This prize will go to a random entry. So go over to the Stamp and Show Challenge blog, let the DT members inspire you and join in the fun!

Thank you for stopping by! Love to see you next time!

Hugs,
Sandra

Monday, April 22, 2013

Explosion of colors

Hi everyone,

The spring  is playing hard to get over here, we only have had a few nice days. The beautiful springy colors have yet to occur. Fortunately, Simon Says Stamp and Show has come up with a super nice colory challenge. Because the theme is Color Love. Go wild and use even more color in your projects than you normally do!


Because I work in an art journal, the swipe method (or whatever this is officially called) is not really suitable. Hmm... what now? Luckily I had a light bulb moment and thought that a transparency could do the trick. I applied 4 colors of Distress Paint on the tranparency.

 
Sprayed some sprayed over it and the swiping could begin. In order to prevent it to get all muddy I left some white space.

 
I filled in the white spaces with Distress Ink. Then swiped and dabbed with the transparency for more layers once again.

 
Distress Paints are really suited for stamping. They aren't as thick as regular paint and not too thin as the Distress Stains. Go lightly over the stamps with Paints and make sure there is not too much paint on it, because then it becomes a big mess. Clean the stamps immediately after use, so that the paint doesn't dry up on them.

 
With a stencil of Dyan Reavely I two layers for more dimension. One white and on top of that the black.

 
To frame the pages, I used a stencil edge and made it pop with a white pen.


I put my Silhouette to work to make my own alphabet stencil. Here I used a transparency, but that was a mistake. Because it takes a long time to get through it. It needs multiple cuts, it is very tough stuff. From now on I just use cardstock for this.


To join in all you need to do is make a project that fits this weeks challenge and you can be the winner of the $50 gift voucher that our amazing sponsor Simon Says Stamp offers. This prize will go to a random entry. So go over to the Stamp and Show Challenge blog, let the DT members inspire you and join in the fun!

Thank you for stopping by! Love to see you next time!

Hugs,
Sandra

Saturday, April 20, 2013

12 tags of 2013 - April

Hi everyone,

Yeah, finally time for the Tim Holtz april 12 tags of 2013! Ohh and it's yet another beautiful tag. I'm so glad it's with the Distress Paints. I really need more practice with these new additions. Tim uses such beautiful color combos that I would never try myself and that is why I used the same colors as him, to get a bit out of my comfort zone. And I'm happy I give those colors a try.


Of course I still gave my own twist, to it, as I always try to do. In 3 weeks time I go to Paris and I I'm so excited that I've made it the theme of this tag too. But honestly I simply don't have the dragonfly stamp, so that's why I had to chose something else. And I used also a 1, because 14 is my fav number. For the numbers I used the Word Play die. I played with the Remnant Rubs for the first time, and they are so much fun! Love the texts!


Thank you for stopping by! Love to see you next time!

Hugs,
Sandra

Monday, April 15, 2013

It's in the background

Hi everyone,

Did you have a good weekend? Did you wish that it wasn't Monday already? Well the good news is that Monday starts with a new challenge at Simon Says Stamp and Show! And this week you can collect all our background stamps and get them all inked up and ready to go. Because it's all about background stamping!


Recently I was hanging out on YouTube and saw a video about how you could make your own stamps out of foam. And it looked really amazing and so easy. Unfortunately I did't save the link, but made you a small tutorial how I made this tag from start to finish.

These are all the materials that you need for making your own background stamp. A foam sheet, a heat tool and something that you want to have the imprint of. In my case an embossing folder from Tim Holtz.

  
Make the foam sheet hot with the heat tool, but beware that you don't melt it, because then that part is ruined. As soon as it's hot enough, press the object in the foam and put some force on it, so that you get a good imprint. That is actually all you need to do to make your own stamp. Simple right?

 
To create more depth in the project, stamp a main focal image and also make a mask of it. Put it over the stamped image so that part won't get inky.

   
Now is the time to get your own stamp all inked up. Place the tag or card face down on the stamp and put a piece of paper over it. This will prevent your hands from getting inky too. Rub gently over it so all the ink can transfer on the tag/card. And voila, you have an amazing stamped background.

 
Pull the mask off and now it seems like the hot air balloon is in front, as intended.
I generally use household sponges for applying the Distress Ink. Especially for the detailed coloring is very convenient. Here I used 3 different shades of blue to create some depth. Peacock Feathers, Faded Jeans and Tumbled Glass.

  
The rest of the stamp is too detailed to color with the sponges, so I used the Distress Reinkers and a water brush. Of course I had to distress the edges with Distress Ink, and deliberately left the edges of the hot air balloon alone so it pops more.

  
I know, the Word Play letters again. Just can't help myself, I think they're really cool. This time I painted them black first and then with did the Dry Brush technique on it to give it an old and rusty metal look. With the Label Letters, some Gears and a Spinner it's a wrap!

To join in all you need to do is make a project that fits this weeks challenge and you can be the winner of the $50 gift voucher that our amazing sponsor Simon Says Stamp offers. This prize will go to a random entry. So go over to the Stamp and Show Challenge blog, let the DT members inspire you and join in the fun!

Thank you for stopping by! Love to see you next time!

Hugs,
Sandra

Saturday, April 13, 2013

April in Paris

Hi everyone,

Today I participate with the challenge 'April in Paris' of Frilly and Funkie. What an amazing theme that is! April for me stands for Spring and Paris is one of my favorite cities in the world. Such a nice combo. I kept it all very abstract and I didn't wanted to use the Eiffel Tower, although I totally love it and just have got the new Tim Holtz die and stamps... But I went more with the feeling it represents to me. So that's why I used the happy colors (because both things make me so very happy), the butterflies (which for me represents Spring) and the sentiment (that for me is saying Paris, since I'm going to Paris with my girlfriends next month, yippie!).

I've been playing with the Distress Paints creating the background. Unfortunately I don't have the  Metallics yet, so I used the normal Metallic Paint Dabbers instead. I still get blown away with the marbleize propeties of the Distress Paints. It's really awesome! I can play all day every day with those paints and get surprised every time with the results.


Thank you for stopping by! Love to see you next time!

Hugs,
Sandra