
Hi everyone,
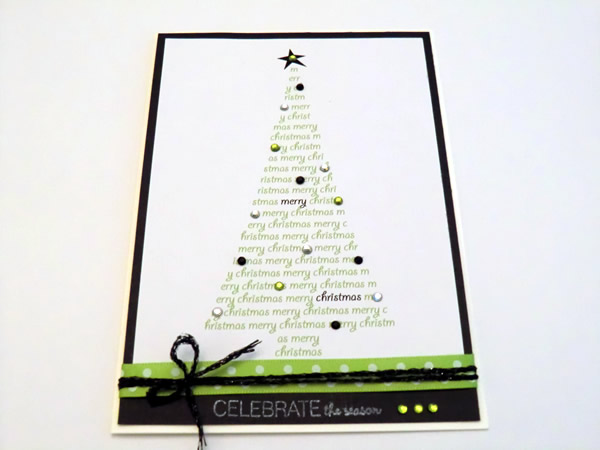
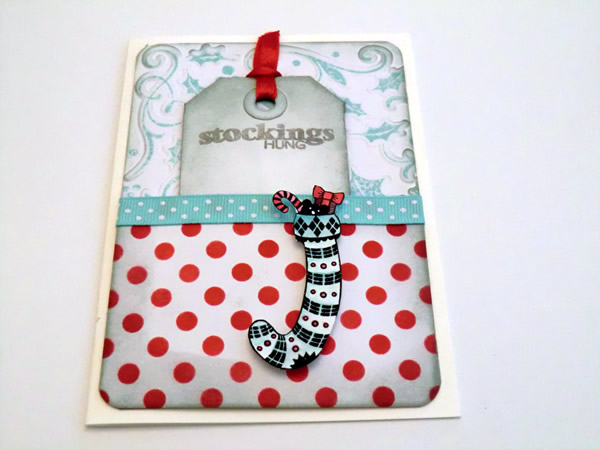
Tomorrow is my friend Paula's birthday and I wanted to make a beautiful card for her. Yesterday, I received the new Bo Bunny Snowfall stamps. I had to use them for this card! As inspiration for this card, I used two challenges: Simon Says Stamp and Show and ColorQ.
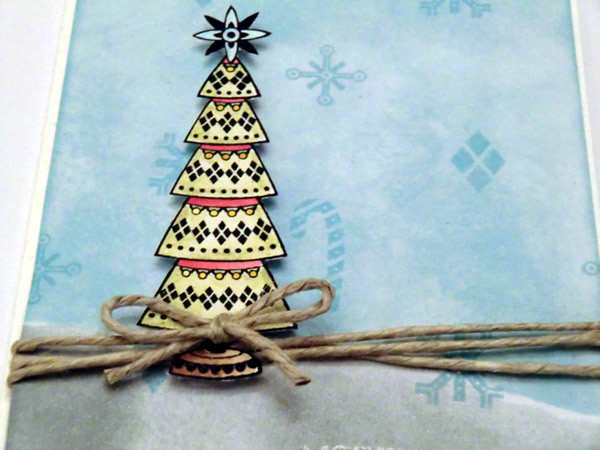
The challenge of Simon Says Stamp and Show this time is, show some stars. And ColorQ's color palette this week is gorgeous:

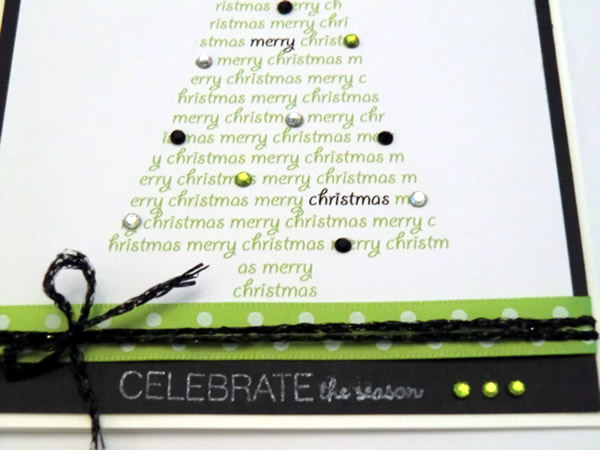
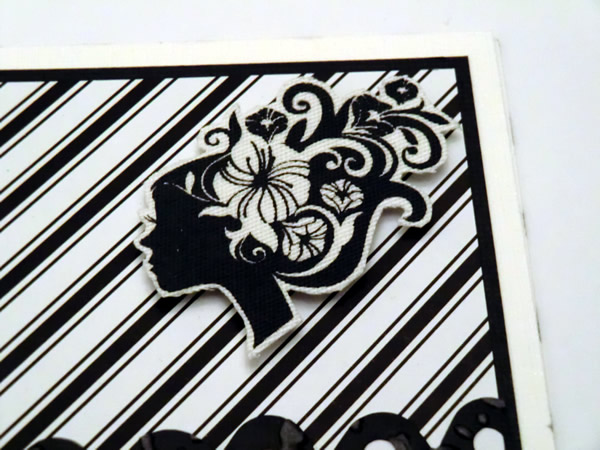
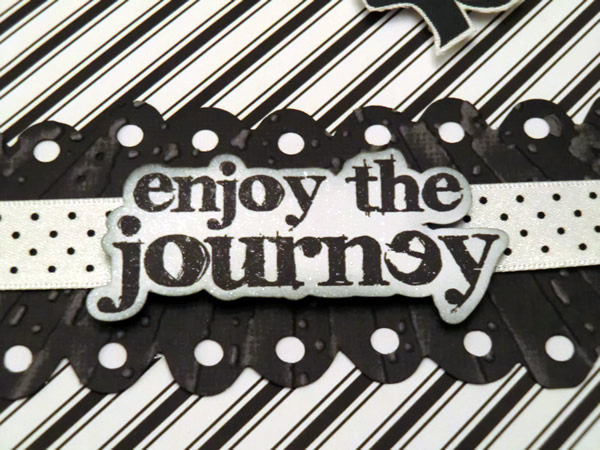
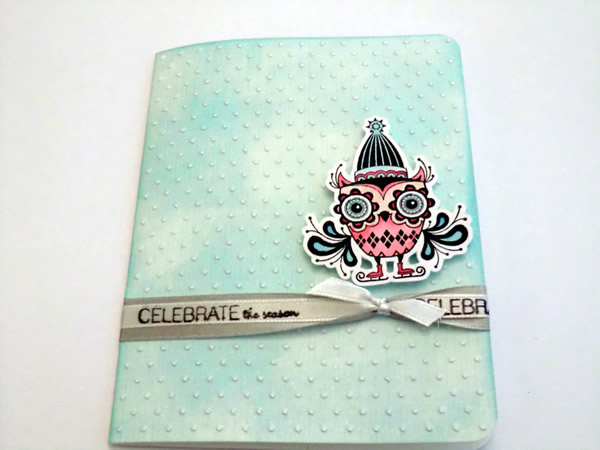
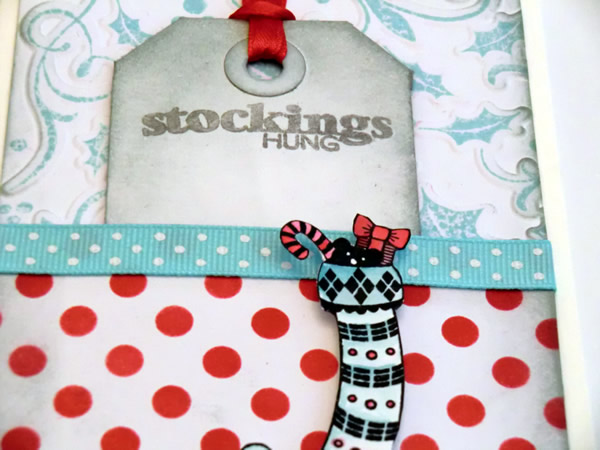
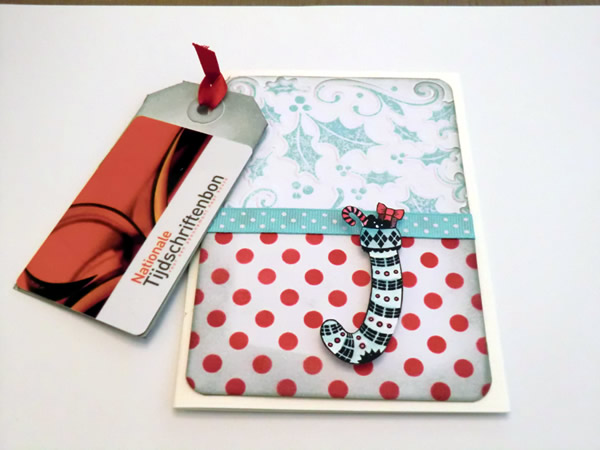
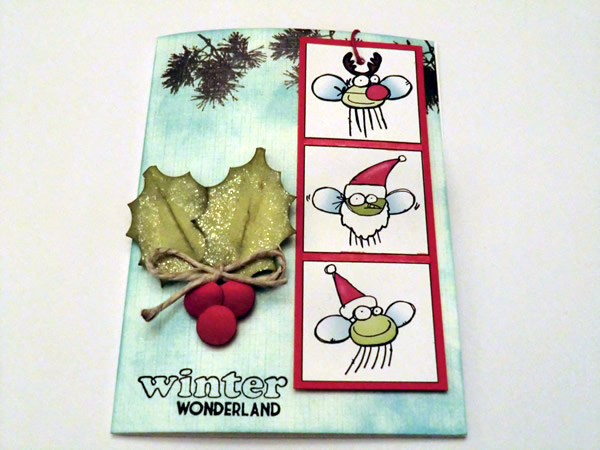
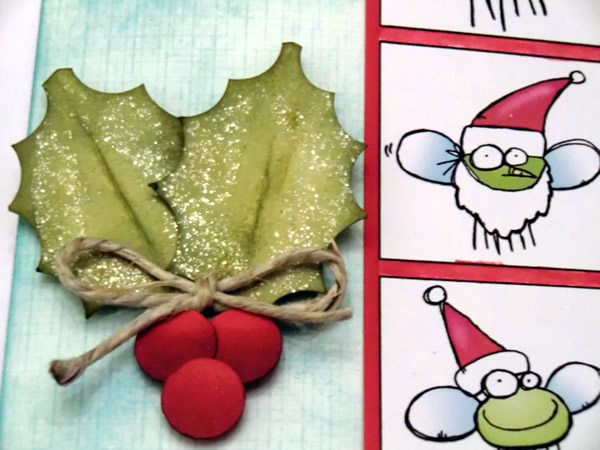
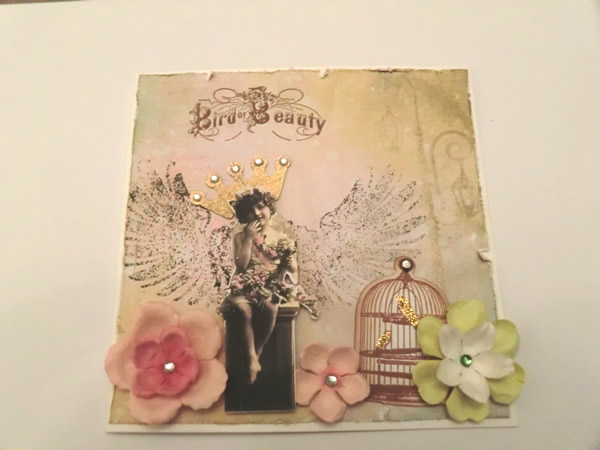
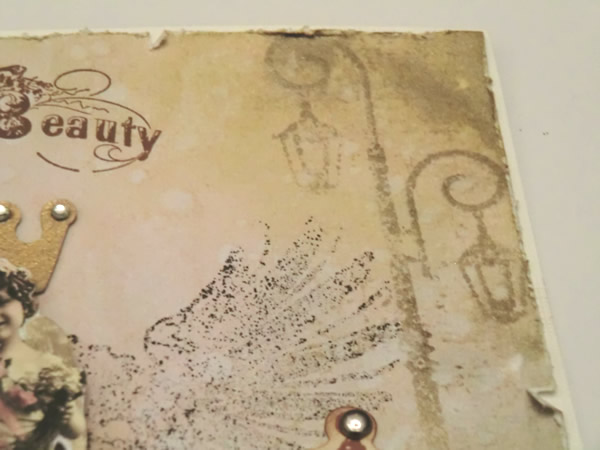
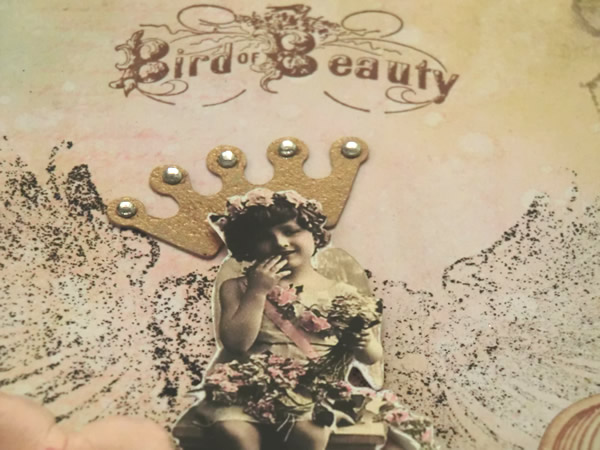
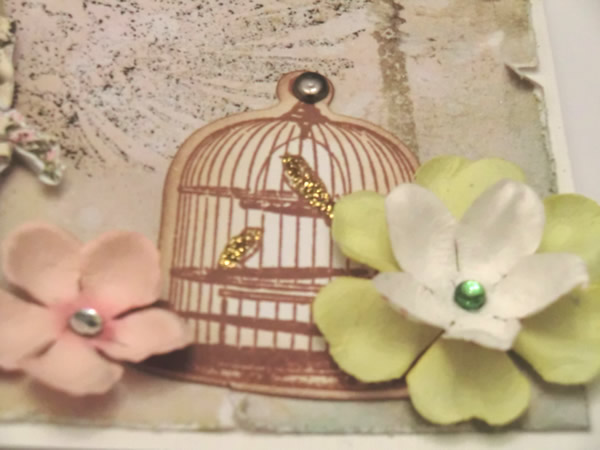
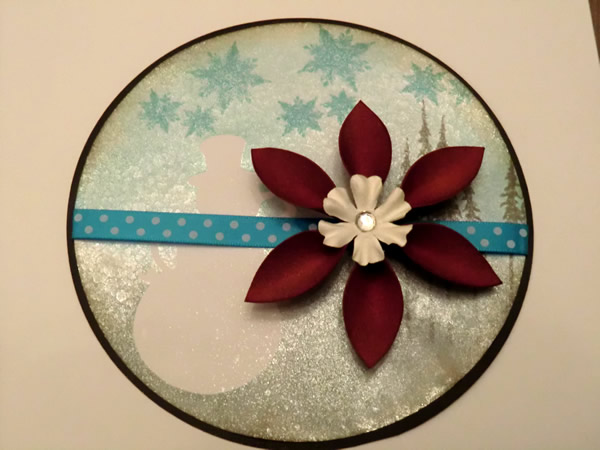
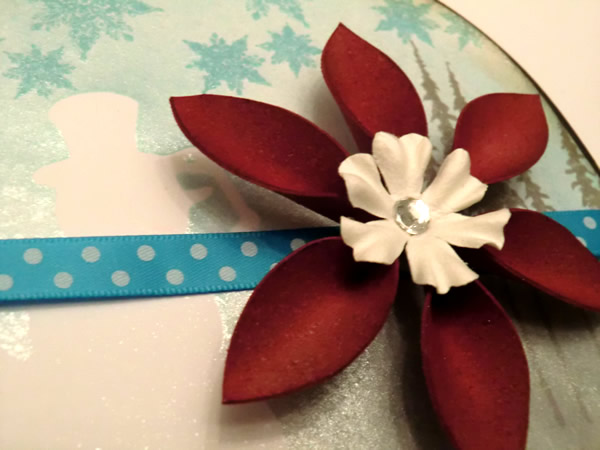
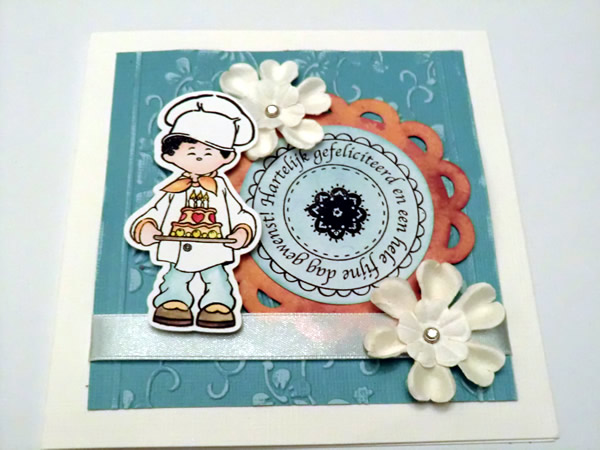
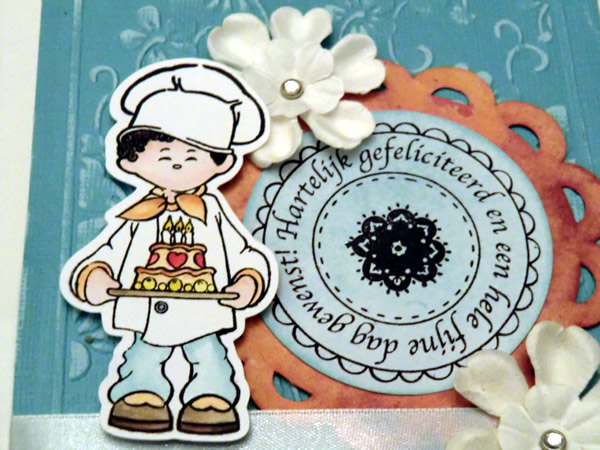
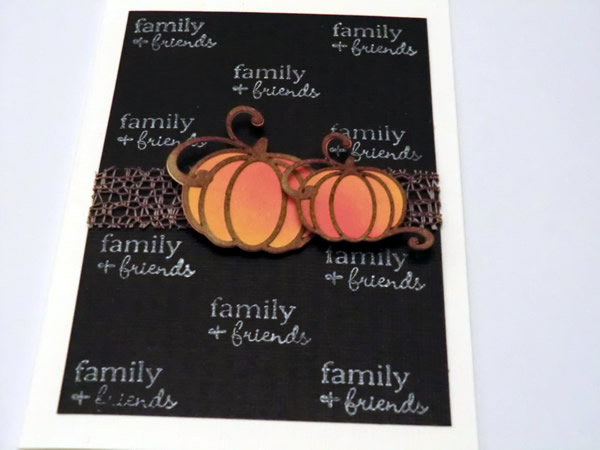
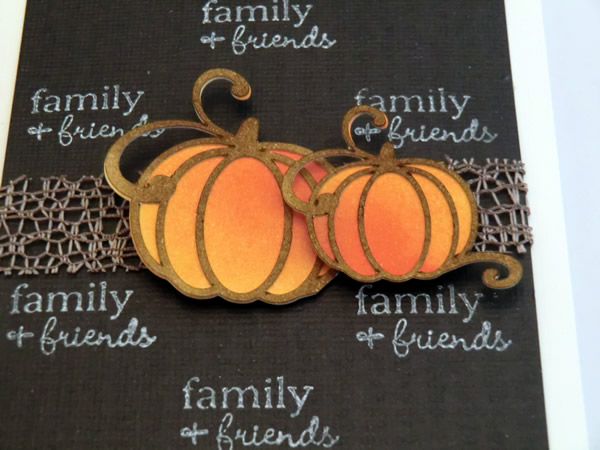
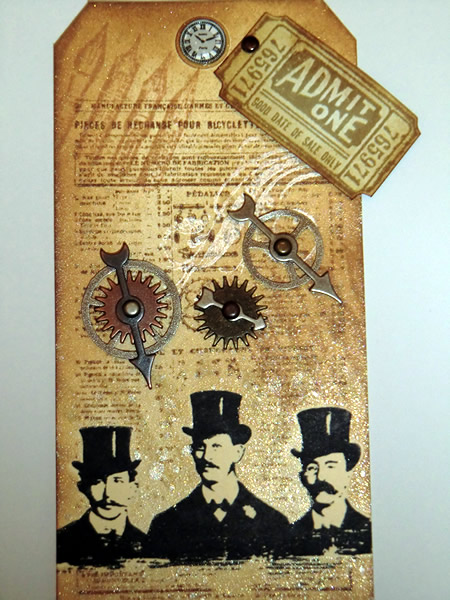
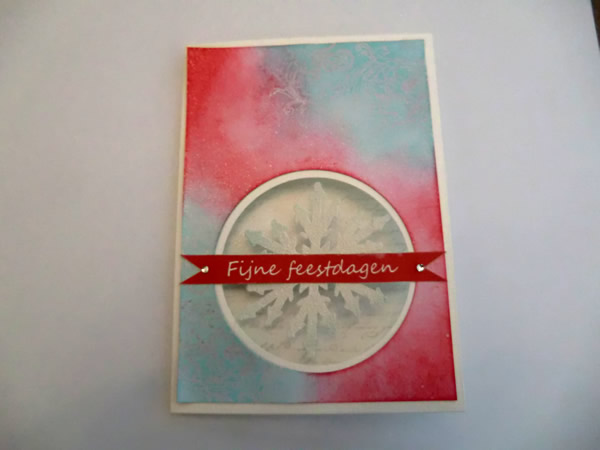
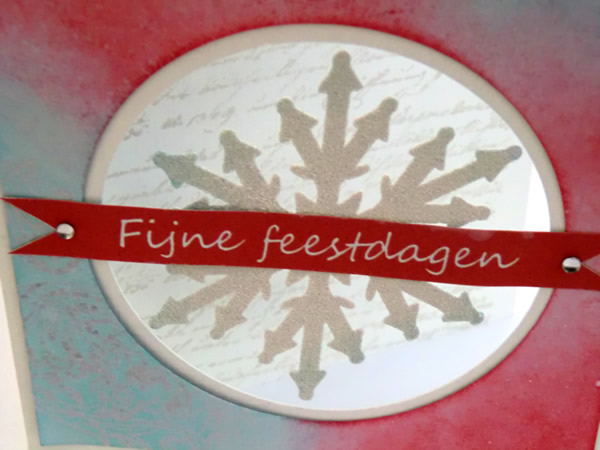
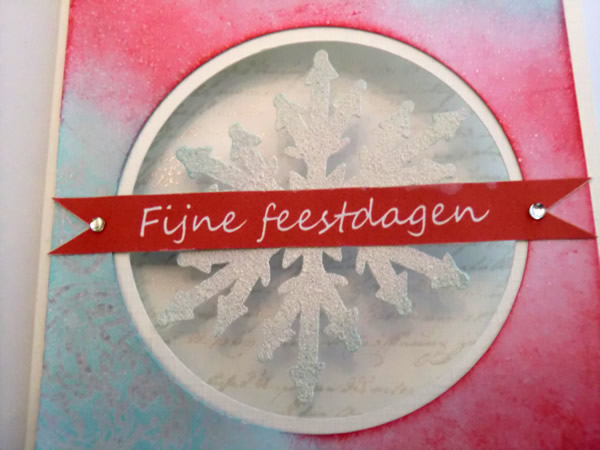
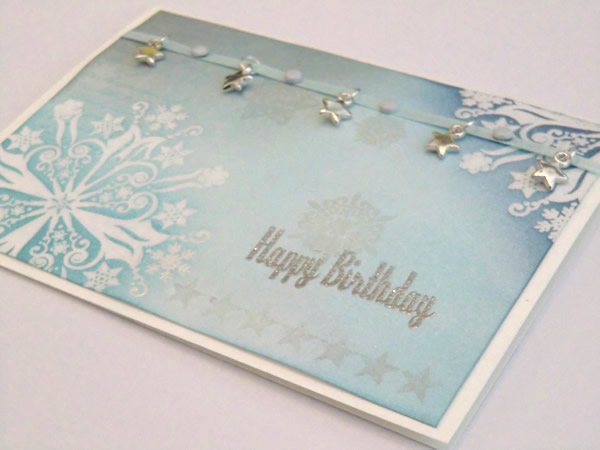
The result:

Thanks so much for stopping by, hope to see you next time!
Sandra
Tomorrow is my friend Paula's birthday and I wanted to make a beautiful card for her. Yesterday, I received the new Bo Bunny Snowfall stamps. I had to use them for this card! As inspiration for this card, I used two challenges: Simon Says Stamp and Show and ColorQ.
The challenge of Simon Says Stamp and Show this time is, show some stars. And ColorQ's color palette this week is gorgeous:
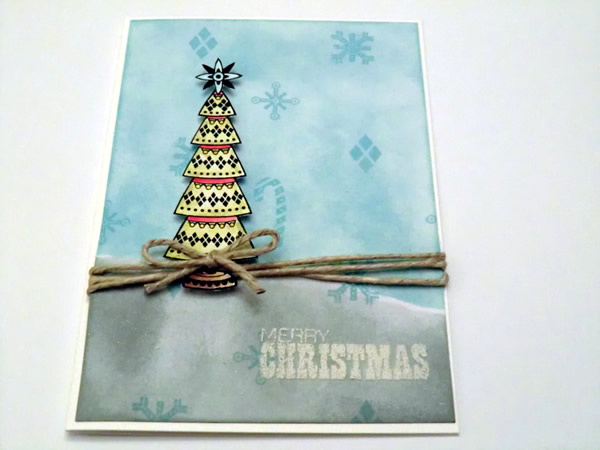
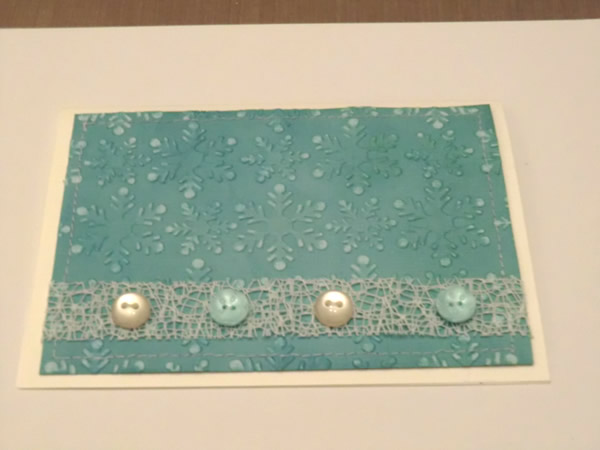
The result:
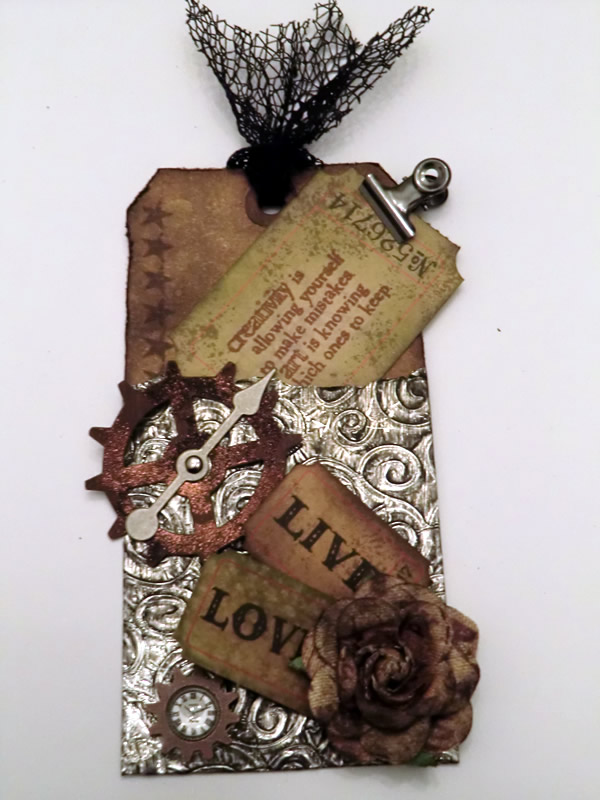
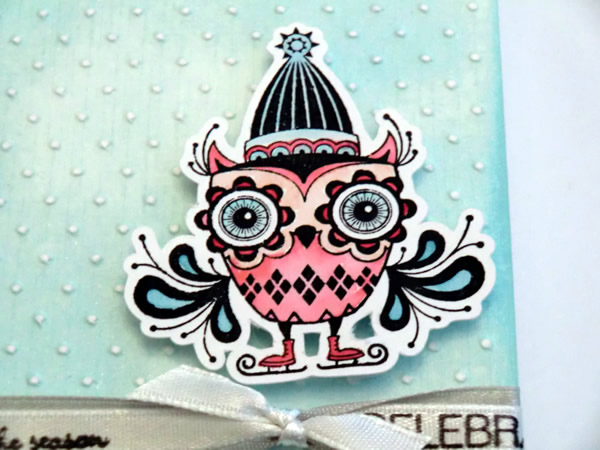
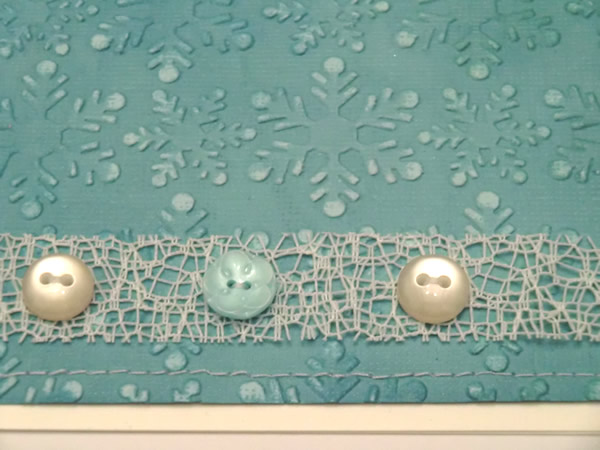
The materials:
- Distress Ink: faded jeans, broken china, tumbled glass, ice spruce
- Perfect pearls: pearl perfect
- Embossing Powder: Clear, silver bells
- Stamps: Tim Holtz, Bo Bunny
- Split pins
- Ribbon
- Charms
Thanks so much for stopping by, hope to see you next time!
Sandra